Are you thinking about getting new floor tiles or wall tiles for your bathroom? Laying tiles in the bathroom can be a major task, which is why we always recommend a professional tiler, but if you want a do-it-yourself project, read here the guide on how best to install new tiles.
If you familiarize yourself with the project properly, do the right preparatory work and follow our advice for installing tiles in the bathroom, the project need not become too unmanageable.
You must be aware of this when laying tiles
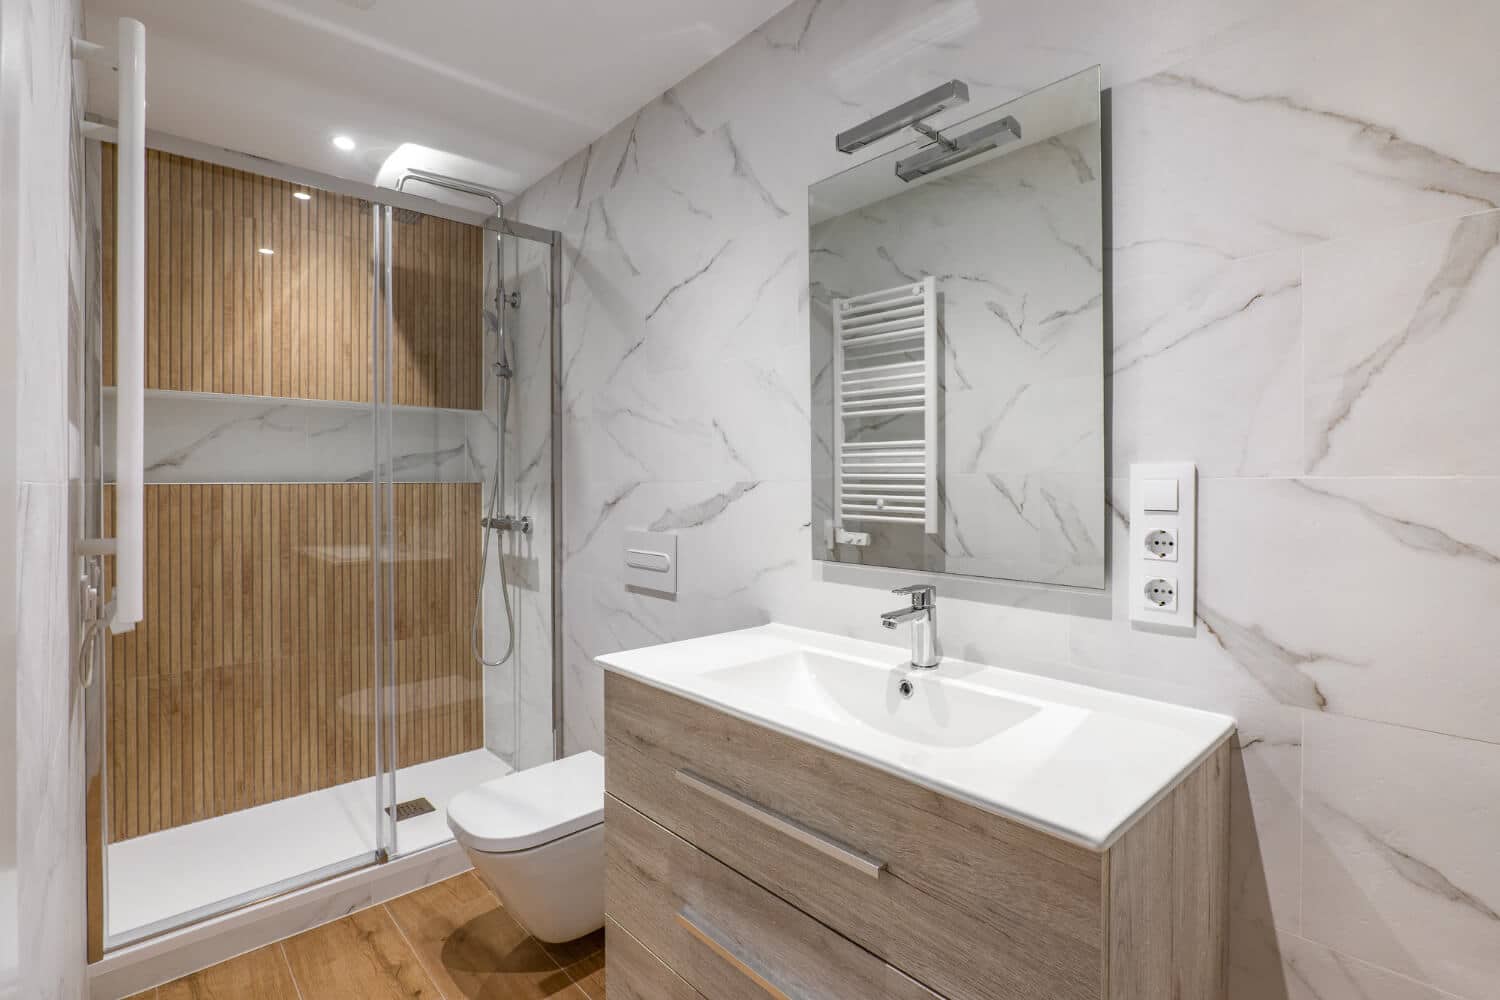
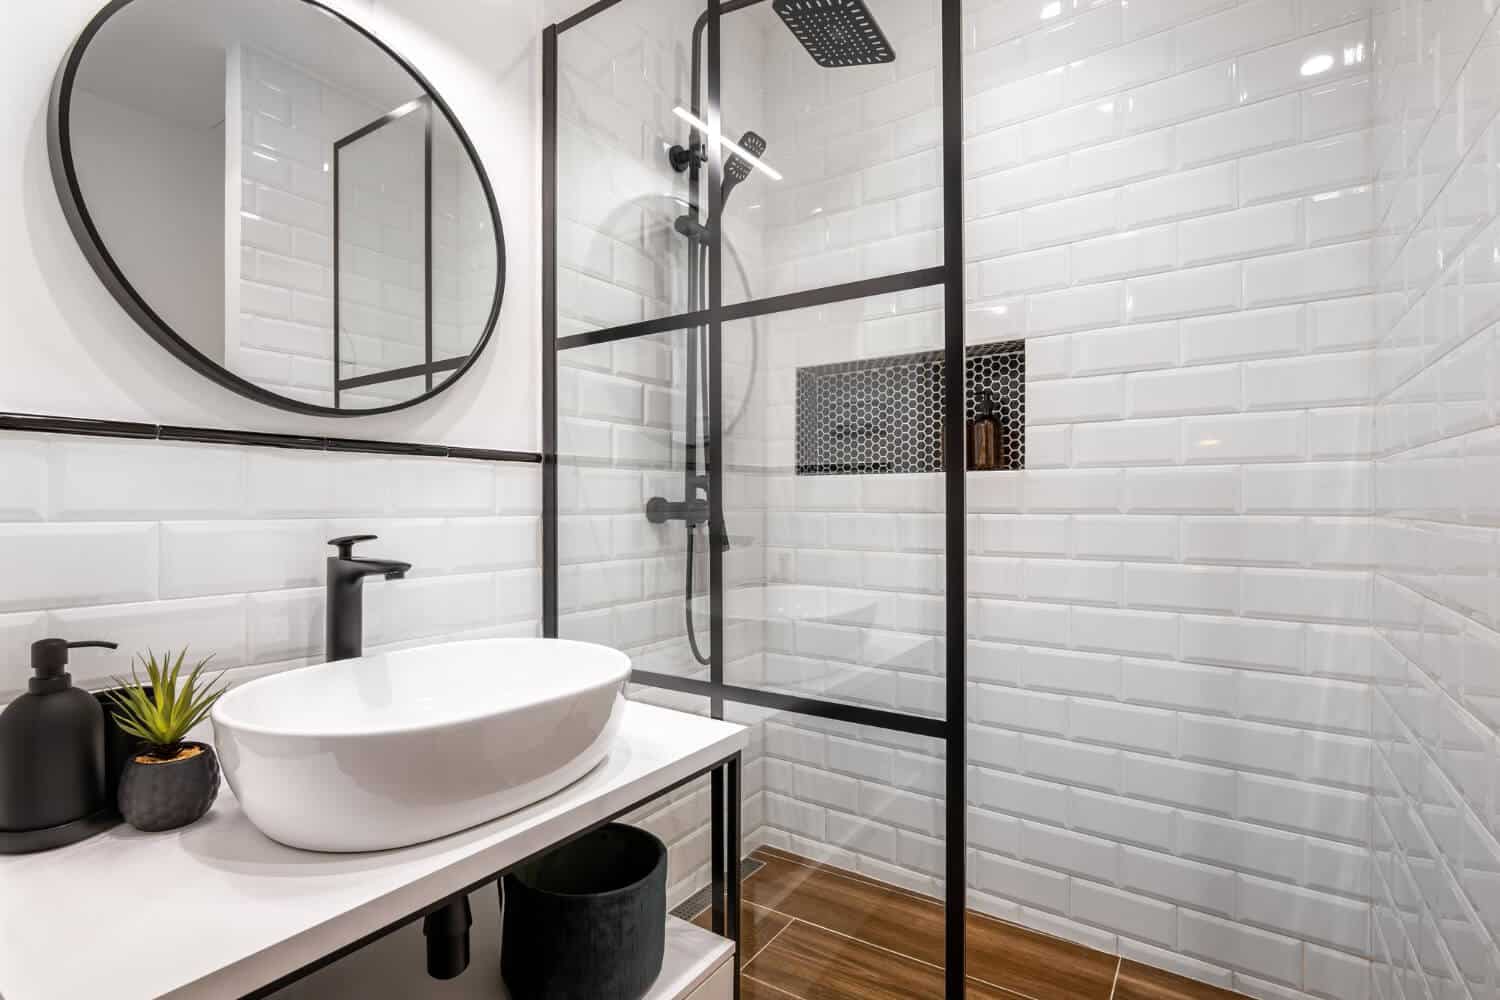
Before you get started, it is important that you choose the right tiles! Should it be terrazzo tiles , a ceramic tile or are you thinking of a completely third one? The choice of tiles is of great importance for the room in relation to your interior design and aesthetics – but also if you think about practicality; eg. in connection with cleaning limestone or marble.
Maintaining tiles can be a big task, so it may be worth considering when choosing your new bathroom tiles.
1. Where should the tiles be placed?
You must also decide whether the tiles should be installed in the entire bathroom, or just in the shower area – (be aware that if you have one of the very small bathrooms of less than 3.25 m2, then the entire bathroom will be considered a wet zone and therefore requires tiles on all walls). What makes sense for your space in terms of choosing colors, materials, surfaces, lighting and fixtures?
2. Installation of tiles in the shower niche
If you install the tiles in a shower niche, you must pay particular attention to the slope of the tiles, so that the water can flow freely towards the drain, and you thus avoid water in the entire bathroom.
3. Think about the pattern in which the tiles should be laid
Think of a pattern before you start installing the tiles. Depending on whether you have chosen square tiles or an elongated rod, you can decide whether you want to install the tiles in the classic half-jointed style or whether you go for an expression with straight lines. See what makes sense in relation to the composition of the whole room.
4. Installation of tiles in a small bathroom
Are you going to install the tiles in a small bathroom? So investigate options for a line drain. Line drains require a one-sided drop, which means that you are not locked in by tile choice in terms of size. Read more and get inspired for the right choice of tiles for a small bathroom in our guide here.
See also: Our entire selection of bathroom tiles .
The installation of tiles itself
Before installation, it is important to check whether the surface is even. If there are holes, they must be puttyed beforehand so that the tiles do not lay at different heights. – If you have hired a professional tile mason, the mason can, for example, do the pre-work with wet room protection and check whether the substrate is ready for tiles.
You will need:
– Tile cutter/angle grinder, so you can easily and precisely adjust the tiles to the room.
– Tile adhesive for the underside of the tiles – spread an even layer with a notched trowel. Remember to wipe the tiles clean of tile adhesive along the way.
– Tile wedges/spacers so you get the same joint width between all the tiles
– Joint compound for between the tiles and silicone joint for all moving corners. See our PCI joints via the link – When the tile adhesive is dry, the joint can be applied.
– Safety shoes are also a good thing when you do crafts yourself at home. As the name suggests, they aim to provide safety for the feet; so that your feet are always protected against shocks and blows in the event that you drop tools, tiles or other heavy items onto them.
The procedure: this is how you lay the bathroom tiles
When you have decided how you want to lay your tiles and have the materials and tools in order, the last step is to lay the tiles. When you have to spread tile adhesive or tile mortar on the underside of the tiles, it is important to spread an even layer with a notched trowel. Be sure to use the spacer to ensure an even distance between each tile.
Ideally, no more than fifteen minutes should elapse from the time you have spread the tile adhesive until the tile is placed, as the mortar can manage to ‘form a skin’ during that time. Also remember to wipe the tiles clean of tile adhesive along the way, before it dries completely. Once you have placed the tiles and pressed them into place, you need to grout between the tiles, for the most beautiful result. You should preferably wait a few days from tiling until you start grouting – make sure that there is no draft in the bathroom and that the temperature is the same, without fluctuations.
See also: Our beautiful lava stone tiles .
Professional help for laying tiles
Just changing the tiles in the bathroom can give the room a whole new lease of life. We sell a wide selection of beautiful tiles for the bathroom in high quality, both for floor and wall.
If your bathroom has many crooked angles, the process of laying the tiles yourself can be overwhelming. It is important that you get everything under control before you start. If you have questions about, for example, wet room protection with a wet room membrane, do not hesitate to contact us on 88 44 15 50 or E-mail: [email protected] .
We also provide professional architectural services and full or partial renovation of bathrooms , so you can sit back and let us take care of the installation of tiles (and other tasks) in your bathroom.